If you are on a software team building applications with Angular, then migrating to a monorepo has probably been one of your goals for 2021. You’ve most likely heard all the hype about how monorepos allow development teams to benefit from having shared libraries, stricter typing, unified CI/CD and more. However, if you are using tools such as Ionic’s Appflow as part of your project’s automation process, you may have had difficulties getting your Ionic mobile application to build and deploy due to the way Appflow expects projects to be organized. Fear not however, for in this article we’ll be showing everyone how to create a monorepo that works with Appflow!
Why Proper Setup Is Important
First, let us explicitly state that the configuration of your project matters. Working with a monorepo is only beneficial if it is organized in such a way that supports your development cycle. While technically feasible, it would not make much sense to create a repository and add multiple projects hoping that it will make things better. At that point, one might as well go back to using multi-repos. That being said, it is important to consider how to best set up your monorepo depending on the tools you are using.
In our case, we want to leverage Angular’s support for multi-project workspaces so that we can have multiple Angular applications under one global configuration. Moreover, we want to use Ionic’s powerful CLI to run commands and add integrations such as Capacitor from anywhere in the monorepo.
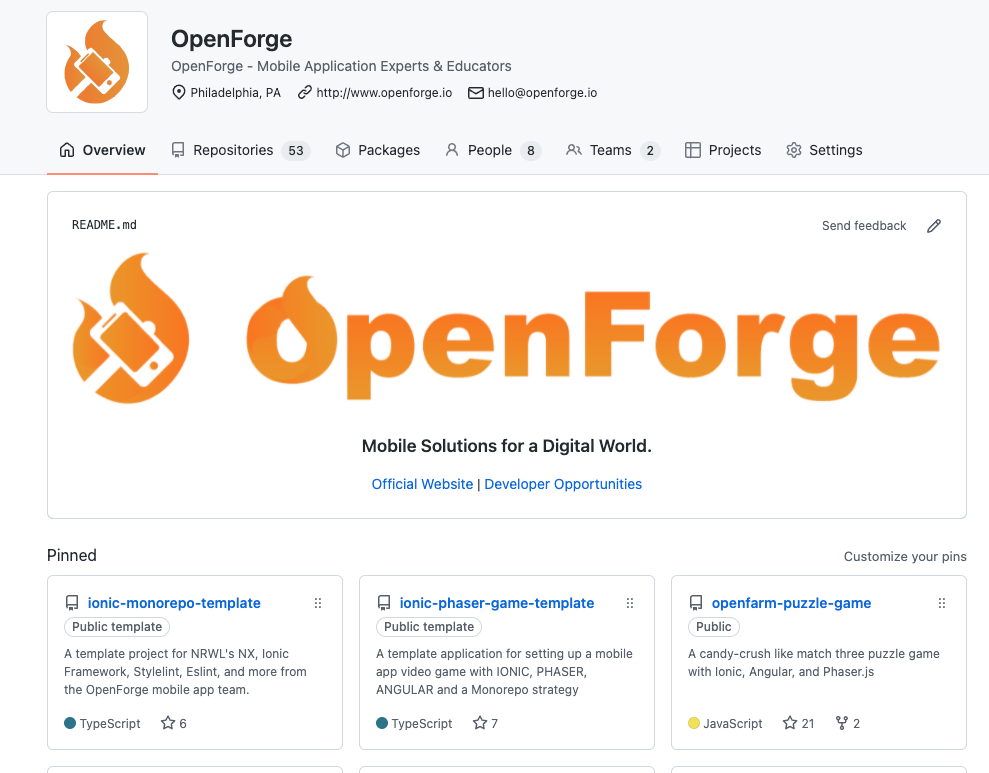
With that said, we DO have a template mono repo already built for you as part of this guide. Please go ahead and click “Use This Template” from https://github.com/openforge/ionic-monorepo-template ….
And don’t forget to give it a Star if you want to see more like these!

The Advantages of Monorepos
In this section, we’ll briefly touch upon the main reasons you should move your project to a monorepo architecture. A monorepo allows your team to keep your entire code base in a single repository. The main advantages are:
- A single place to define shared code libraries, TypeScript interfaces, and configurations
- Many times (such as in mobile & web apps, or client apps versus admin portals) you’ll have multiple projects that refer to the same database. When these are maintained by separate developers (or teams), it can be easy for new features to introduce new naming conventions or TypeScript interfaces. Having a monorepo with a shared-code library eliminates duplication and allows for easy strict-typing and references from your development team
- Simplified Dependency Management
- Having multiple package.json packages within separate projects begs for standards to be missed or dependencies to be duplicated. Having a single package.json keeps everything nice and simple.
- Shared configs & testing
- Monorepos allow for your CI/CD setup to utilize the same configurations.
The Structure of a Monorepo
Typically, one would initialize an Angular project by running ng new . What this command does is create a new workspace and install all of the required Angular NPM packages and other dependencies in it. The important thing to note here is that it also sets up the project to have a root-level application that shares the name of the workspace (). This default behavior is suitable for multi-repo projects where each application has its own workspace. Therefore, It is not what we want.
First Steps
The first step to creating our monorepo is to create a single workspace that will contain both of our applications. To do that we just need to run the following command:
ng new my-monorepo --createApplication="false"
Notice that we’re setting the –createApplication flag to false in order to create an empty workspace. After navigating into our newly created workspace, you’ll notice that we have a folder called ‘projects’. This is where all of our projects’ source files will live. When created this way, Angular projects will reflect a new project structure that is supported by the workspace configuration file, i.e. the angular.json file.
Make It A Multi-App Project
The next step is to initialize the monorepo as a multi-app Ionic project. We can do that by running the following command:
ionic init --multi-app
What this command does is create an ionic.config.json file with a multi-app configuration. You can find out more about setting up multi-app projects with Ionic in their documentation here.
Add The Applications
Now that our workspace is set up, we can proceed by adding our applications. For this example we’ll be creating a mobile application built with Ionic and a regular web application. To create our mobile application we can run the following command:
ng generate application mobile-client --prefix=app
Next we run a similar command to generate our web application:
ng generate application admin-portal --prefix=admin
Notice that we’re using the –prefix flag here. This is completely optional, but what it does is it changes the prefix that gets prepended to the selectors of generated component so that it’s easy to know which project you’re working on just by looking at the template.
Add Ionic For Mobile-Client App
Now that we have added our applications to our monorepo, the next step is to add Ionic to our mobile-client app. We’ll do this by running the following Angular schematic:
ng add @ionic/angular --project=mobile-client
Notice that we used the –project flag to specify that we want Ionic added to our mobile application and not the admin portal. If you don’t specify which project you’re targeting then the Angular CLI will automatically pick the default project that’s set in the angular.json.
The next step is to initialize the mobile application with the Ionic CLI and make it the default application. We do that by first navigating into the project folder with:
cd projects/mobile-client
And then running:
ionic init --type=angular --default
Once this is done, we can navigate back to the root of the project. At this point we need to add Capacitor to the mobile application in order for Ionic Deploy to work. You could use Cordova as well but we are choosing Capacitor for this example.
We’ll be using another Angular schematic to do this:
ng add @capacitor/angular --project=mobile-client
Now we must do two things:
- The first is to move the newly created capacitor.config.json to the mobile-client folder. I’ll explain why in the next step.
- Next, you must check the ionic.config.json and make sure that Capacitor has been added to the integrations. It should look like this:
"integrations": {
        "capacitor": {}
      }
- The next step is to add a configuration file so that Appflow knows that this is a monorepo. In the root of the project, create an appflow.config.json file and paste the following:
{
  "apps":
  [
      {
          "appId": "",
          "root": "projects/mobile-client",
          "dependencyInstallCommand": "cd ../.. && npm install",
          "webBuildCommand": "cd ../.. && npm run build"
      }
  ]
}
If you’d like to learn more about Appflow’s config customization and monorepo support please check out the documentation here.
At this point our monorepo is ready to be linked with Appflow. Once you complete the Quickstart guide on Ionic’s documentation for Appflow, then you should be able to link your app and start generating builds!
Understanding How Appflow’s Build Process Works
“Appflow is a continuous integration (CI) and continuous deployment (CD) platform for Ionic development teams. Appflow helps development teams continuously build and ship their Cordova and Capacitor apps faster than ever.” – Appflow Docs
Appflow works by using NPM to install dependencies and generate the web portion of the build, which then can be used to generate the native binaries. By default, Appflow expects a single application per Git repository. In order to make Appflow work with a monorepo, we can use Appflow’s appflow.config.json to specify the root of the application. In our case, this would be /projects/mobile-client. Once this is done, you can also tell Appflow what commands to run for installing dependencies and generating the web build. This is useful when you have custom scripts defined in your package. json. To learn more about Appflow’s configuration, head over to the configuration section of the documentation.
Conclusion
There are many ways to set up a monorepo, but in the end all that matters is that you pick the one that works for you. That being said, it’s important to consider the pros and cons of switching to a monorepo architecture. Perhaps you’re on a short time-frame and can’t afford the overhead to alter your CI/CD pipeline. Or maybe you don’t want every developer to have access to certain components of your project. These are things we must consider. However, if the pros we listed at the beginning of the article enticed you, then we certainly recommend giving monorepos a try and seeing how your team reacts to the change.
Check out our guide to how to create a Monorepo using Ionic:
All About CSS Variables and How to Declare Them
Re-skinning an app on run time was never this easy.
For more guidance on Mobile Development, follow OpenForge on Instagram, Twitter, and Youtube.


